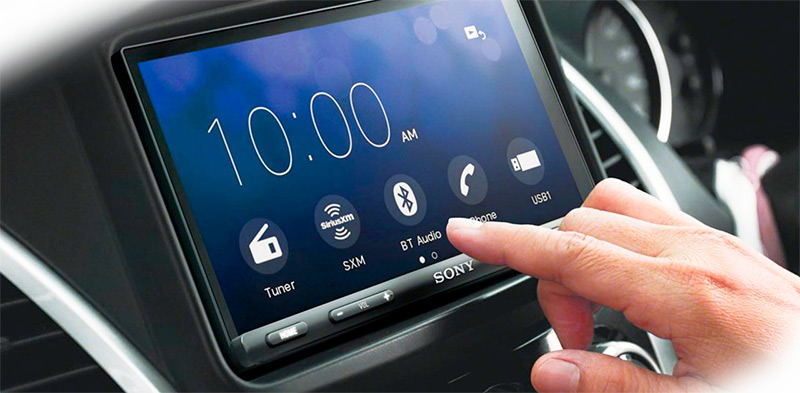
There are thousands of different stereos, both regular and third-party, which you can buy in the store and install in your car. They are designed to please, to dilute the monotonous day of the driver. Modern radio sets give you the opportunity not only to listen to music in high quality but also many car radio sets are equipped with touch screen displays which allow watching films, clips. Watch TV, play the set-top box, use the navigation system, etc. Even in some models you can use the Internet and make video calls. In addition, these boomboxes are equipped with touchscreens, which allow convenient and easy control of the device.
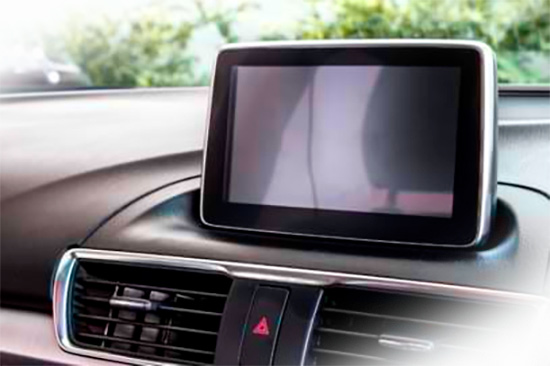 But since these touch-sensitive panels are made of the glass substrate and the touch screen film itself, they are the most vulnerable part of the boombox. And the most common failure is a broken touchscreen. As a consequence of accidental impact, abrasions, heavy pressure, as well as overheating or severe freezing. Rarely, but certainly occurs and marriage, when the sensor simply refuses to work due to loss of contact in the tracks or stratification layers and getting there air. About 10 years ago there was a problem with finding touch screen glass for cassette players and accordingly the repair, many cassette players simply can’t be repaired. Today we’ll look at how to quickly repair your boombox.
Table of Contents
Signs of Touchscreen Breakage:
- Cracked glass
- Loss of control
- No reaction to touch
How to Repair A Car Stereo Touch Screen
To repair the sensor, or rather to replace the touchscreen of the boombox, you need to do several steps:
- You need to buy a touchscreen according to the model of the radio or universal one.
- if you can not find one by model, you need to disassemble the front panel of the boombox, take a ruler in your hands and measure the sensor from edge to edge
- Once you have the touchscreen in your hands, you need to disassemble the panel
- Remove the old broken touchscreen and its chips, if any
- Clean up the adhesive base
- Determine where the front and back sides of the sensor are located
- Attach the new sensor without removing the protective film and plug the flat cable into the connector on the board
- Test the touch
- After checking, you can do the assembly – as a rule, the sensor is glued to the display on a double-sided adhesive tape or tape
- And in the end to assemble the radio
How to Determine the Face Side of The Touchscreen:
- Look closely at the touchscreen and see that the stub is closer to the touch film – this is the front side. You also need to find out whether you have LCD or LED touch screens.
- Look closely at the sensor and you will see the glass base, this is the backing, i.e. the back side that should be close to the display.
Warning. If the new sensor does not react to touch or does not respond correctly (when you press in one place and it reacts in another), but the sensor is installed the right way, the problem is in the difference of pinout! In this case, you need to correctly swap the pins of the loop, and connect them according to the axes of the native sensor (re-solder pins)!
That’s It!
Today, many car service centers offer such a service as car stereo repair. The service is one of the most demanded and popular. Unfortunately, many car owners do not observe elementary rules of operation at all, so problems with the functioning of the device arise most often. So I hope this article was useful for you and you understood how to quickly repair a car stereo touch screen.

Leave a Reply